Camera
The Camera view allows you to see the video stream of all the devices (Kapta or Kam) connected to Kratos. This is also where you can perform manual tracking.
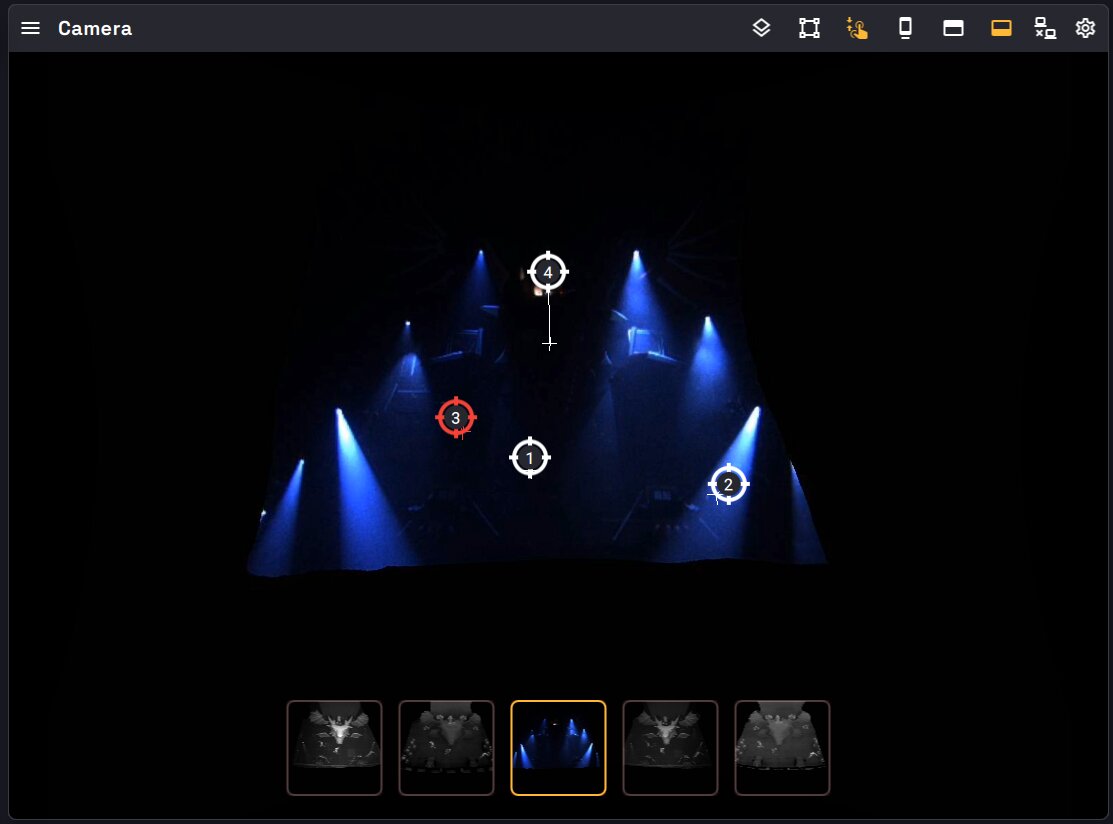
To create a Camera view, check the Layout organization section.
Device list
The Camera view presents a side panel on the left listing all the devices (Kapta or Kam) that have been connected to the show (see more at the side panel section).
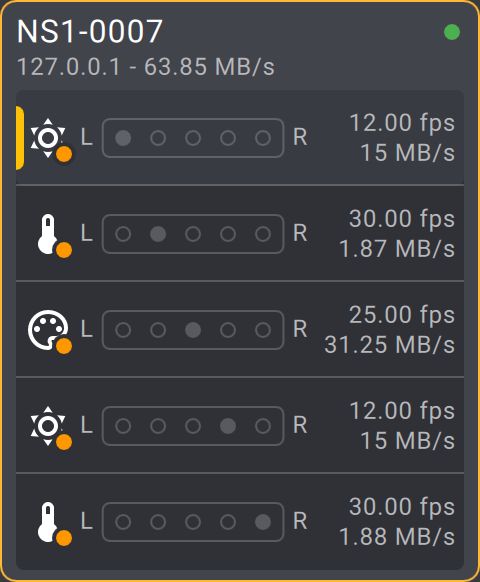
For each device present in this list, you can see the following information :
- Serial Number
- Ip address
- Global data rate
- Connection status (green : connected, orange : disconnected, red : lost)
- Icon, position, framerate and data rate for each camera
To delete devices from the list, go to the Cameras tab of the Show explorer view.
Adding devices
How a device is added to the show depends on its type:
- With the Device Auto Discovery preview (recommended): add Kams and Kaptas from the Discover Devices dialog, see Discovering devices below. Their factory calibration is applied automatically.
- Without the preview: a Kapta announces itself on the
NaoNetnetwork and is added to the show automatically once connected to the station's network. Kams are not discovered (see below).
Adding a Kam without Device Auto Discovery (soon deprecated)
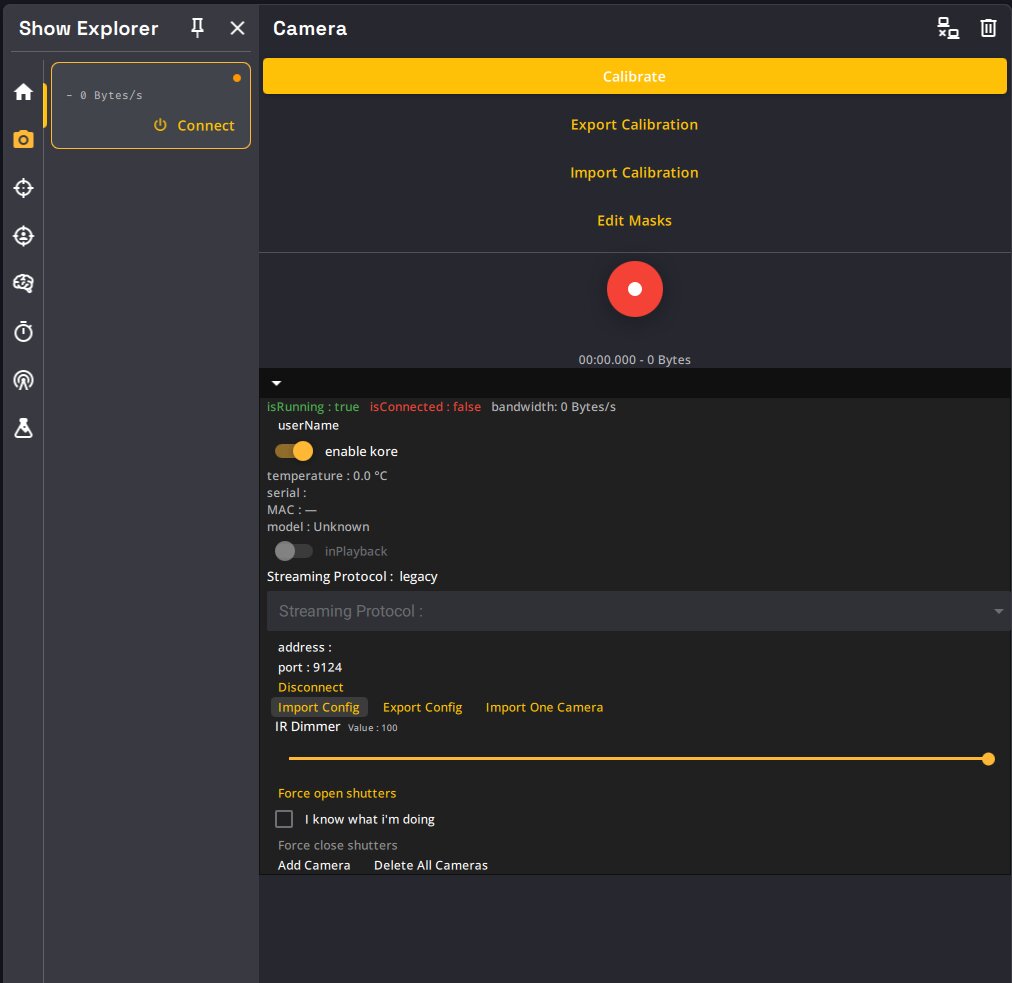
Without the preview, a Kam can only be added manually: click + in the Cameras tab of the Show Explorer to add an empty device, then, in Beta mode, use Import Config on the device card to load the device's configuration file. This procedure will soon be deprecated: Device Auto Discovery will become the only way to add Kams, and configuration files will no longer be sent to customers.
Discovering devices
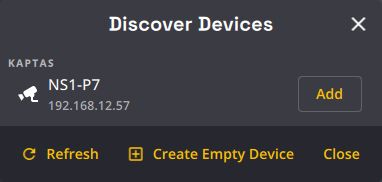
When Device Auto Discovery is enabled, Kratos can find Kam and Kapta devices on the network.
- The + (Add Device) button, or the Add button of the banner shown above the device list when new devices are found, opens the Discover Devices dialog.
- The dialog lists discovered Kaptas and Kams, each with its name and IP address.
- Click Add next to a device to add it to the show. Already-known devices are shown as Added.
- Use Refresh to re-scan the network.
Once a device is added, Kratos identifies it and applies the matching factory calibration automatically (see the Calibration Database).
Camera view
When a device is selected in the device list, the view displays its video stream (for a Kapta, its central visible light camera). On a multi-camera device (Kapta), a camera selector allows you to change the camera displayed in the view.

For a Kapta, the cameras are listed like they are placed in the Kapta, from left to right :
- NIR (Near Infra-Red) Left
- Thermal Left
- Visible Light Central
- NIR (Near Infra-Red) Right
- Thermal Right
Touch controls
Kratos is fully compatible with touchscreens. On the Camera view, you can use the following gestures :
- Drag the view : use two fingers in a equidistant gesture
- Zoom in / out : use two fingers in a pinch gesture
- Manual tracking : if manual tracking mode is selected for a Target, you can drag the manual target with one finger
Manual tracking controls
When manual tracking mode is selected for a Target in the Target Patcher view, a manual target will appear on the Camera view. You can then drag this manual target to perform tracking manually (with a mouse or using a touchscreen). This operation allows you to track other thing than human or to track a human in a specific way or in a specific situation.
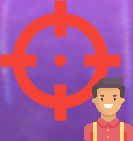
- Left click : Hold to track. The manual target will be freed when click is released.
- Right click on the manual target : Follow mode. The manual target will follow the mouse cursor until another right click.
- Right click anywhere on the view : Teleport the manual target to the mouse cursor position. Useful when you don't know where the manual target is.
If you are using a touchscreen, multiple manual targets can be moved at the same time.
Top icons
| Function | Icon |
|---|---|
| Open Mask Editor See more about masks here |
 |
| Show / Hide Action Areas overlayed on the camera view This option works best if the camera view is rectified |
 |
| Enable / Disable multi-touch This will prevent the user from dragging or zooming in the view, useful if multiple manual tracking are needed on the same screen |
 |
| Show / Hide camera selector |  |
| Move camera selector to the top of the view |  |
| Move camera selector to the bottom of the view |  |
| Connect selected device Disconnect is deprecated since v1.9, you can disconnect devices from the Show explorer view. |
 |
| Pause / re-lock auto-follow Only shown when a Follow source is active. The crosshair toggles auto-follow on and off. |
 |
Masks
K SYSTEM Sense only
Masks hide parts of the images from the Kore AI. They have no effect in K SYSTEM Flow, where there is no AI.
Masks are an important part of a K SYSTEM setup. With masks you can hide certain parts of the cameras' view to the AI, alleviating its workload and preventing it to spawn Trackers where there is no need for it (if a camera sees a part of the audience for example).
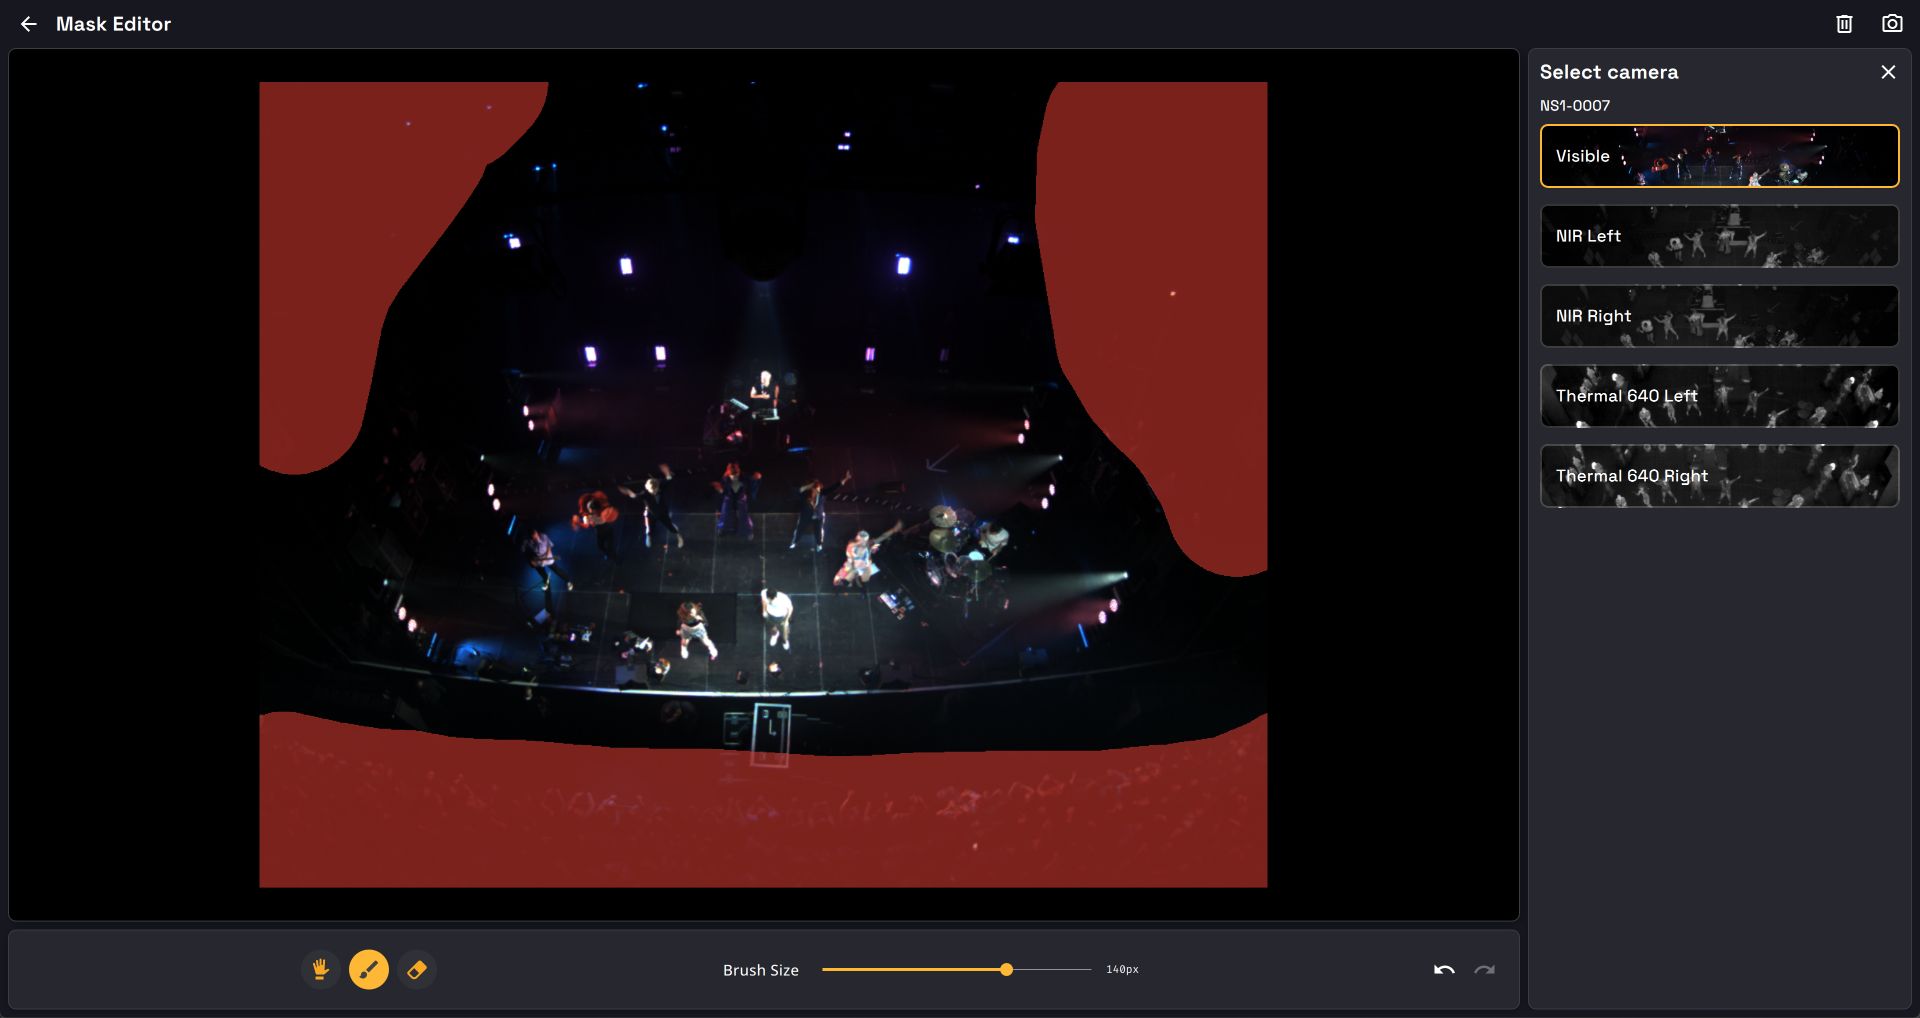
Mask editor can also be accessed from the Show explorer view.
It is good practice, when a device is set up, to draw a mask for each of its cameras (5 on a Kapta) to hide the parts of the images where no tracking will be needed.
On the right-hand side of the mask editor window, you can select the camera you want to edit the mask. If multiple devices are connected, the cameras of all the devices will be listed. You can close the camera list with the camera icon.
When the mask editor window is closed, all changes are saved and applied automatically.
| Function | Icon |
|---|---|
| Close mask editor |  |
| Clear current mask |  |
| Open / Close camera list |  |
| Toggle Move function With this function On, you can move through the image with left click and drag.You can zoom in and out at any time with mouse wheel |
 |
| Toggle Draw function With this function On, left click will draw the mask and left clik will erase the mask |
 |
| Toggle Erase function With this function On, right click will erase the mask ans left click will draw the mask |
 |
| Brush size selector You can change the size of the brush used to draw or erase the mask with this slider |
 |
| Undo / Redo buttons You can also use the Ctrl + Z and Ctrl + Y shortcuts |
 |
We recommend to use masks rather than No tracking Areas.
A No Tracking Area prohibits the AI to spawn Trackers to detected persons in a certain area. But the AI is still working on this area, detecting people without assigning them Trackers. A mask hide unused portions of the image to the AI, alleviating workload for the Kore.
View settings
The Settings cogwheel at the top right of the view opens the view settings panel. It groups the following sections: Display (Show World Points: overlay the calibration points on the image), Selection (Link Selected), Follow (including the SpaceMouse Module link) and KratOSC.
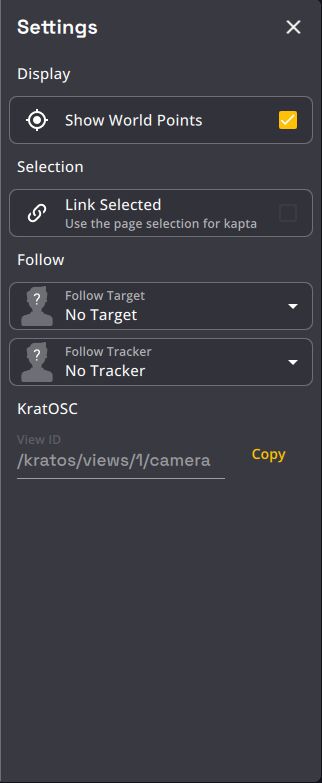
Link Selected

This option allows you to link the camera selection off the Camera views and Show explorer views of the same page.
Per page, views with this option enabled will be synced together: selecting a camera of one of the view will select the same camera on the other views.
Follow (Virtual Pan/Tilt)
The camera view can automatically pan the image to keep a subject centered, turning a fixed camera into a virtual pan/tilt by reprojecting the subject's 3D world position into the video feed. This works with or without a SpaceMouse.
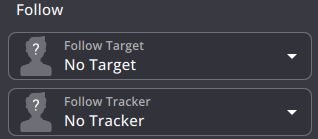
In the Follow section of the view settings you can choose one of three mutually exclusive sources (selecting one clears the others):
- SpaceMouse Module : follow the Target currently controlled by a SpaceMouse module.
- Follow Target : follow a chosen Target's position.
- Follow Tracker : follow a chosen Tracker's position (K SYSTEM Sense only).
When a follow source is active, a crosshair button appears in the view header:
- Click it to pause auto-follow (so you can pan manually) and again to re-lock.
- Any click on the view also pauses auto-follow; it re-enables when you change the followed Target/Tracker, move the SpaceMouse, or click the crosshair to re-lock.
The follow Target and Tracker selections are saved with the view.
Switch camera via KratOSC
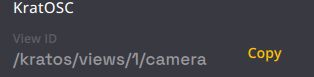
The view settings include a KratOSC section showing this view's OSC address (with a Copy button). Send a device, and optionally a camera, to that address to switch which feed the view displays remotely. See the KratOSC reference.
SpaceMouse Camera View
Link a SpaceMouse module to the view with the SpaceMouse Module dropdown of the Follow section. See Camera view link.