Cameras
The Cameras tab allows you to interact with the devices (Kapta or Kam) connected to Kratos. The list in the side panel displays all the devices that have been connected to the current Show. You can interact with the selected device's parameters in the main view.
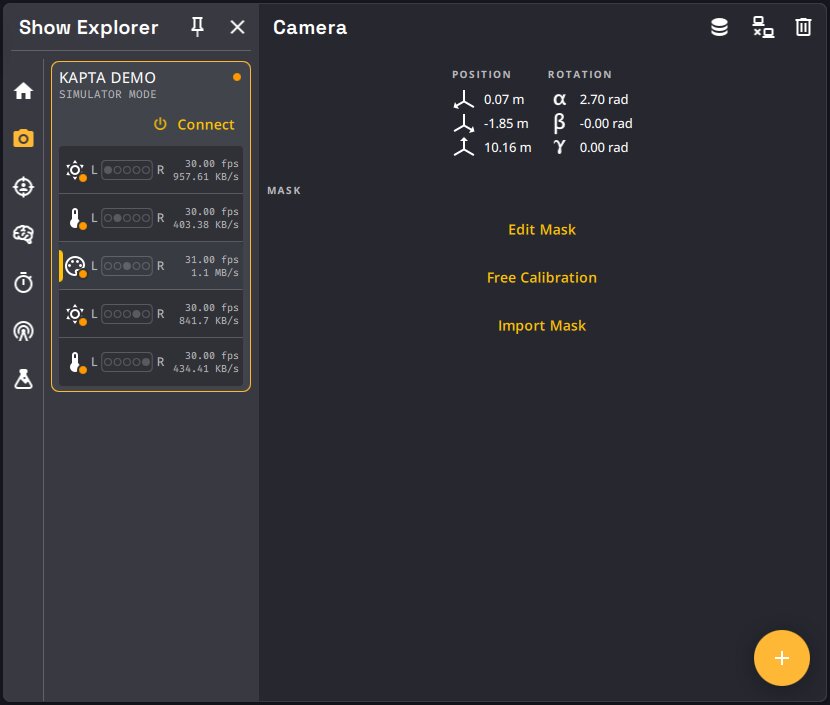
To select a device and have access to its parameters, click on its card on the list. You can also select a specific camera and have access to its parameters by clicking on the corresponding card.
| Parameter | Description | Image |
|---|---|---|
| Calibrate button | This button opens the calibration of the selected device. See the Kapta Calibration tutorial. With the Free Calibration preview enabled, it opens Free Calibration instead. |  |
| Export calibration button | You can export the calibration of the selected device as a .json file for backup. This is also done automatically when you press the Done button at the end of the calibration process. Exported calibrations are saved in Documents/Kratos/Calibrations (previously Documents/calibrations). |
 |
| Import calibration button | You can calibrate a device by importing a .json file that contains the calibration data. |
 |
| Open mask editor button | You can access the mask editor with this button. Masks are only used in K SYSTEM Sense, see more here. |  |
| IR dimmer fader | You can dim the Kapta's IR floodlights with this fader (from 0 to 100). |  |
| Open shutter button | Kapta opens its shutters automatically when it connects to Kratos. You can force the opening with this button. |  |
| Close shutter button | Kapta closes its shutters automatically when it is disconnected from kratos. You can force the closing with this button. |  |
Advanced parameters are accessible in Beta mode but should remain untouched since they are development tools.
Kam image controls
Kam devices show an Image Controls section with a Flip image switch that flips and mirrors the image 180°. Controls that only apply to Kaptas (IR dimmer, shutters) are hidden for Kam devices.

Adding devices
When Device Auto Discovery is enabled, an Add button lets you discover and add Kam/Kapta devices on the network. See Discovering devices and the Calibration Database.

Camera parameters
By clicking on a camera card in the device list, you can access the parameters of the selected camera. The parameters are set by camera.
| Card | Corresponding camera |
|---|---|
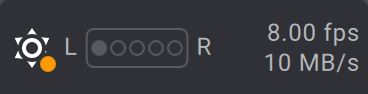 |
Near InfraRed (NIR) Left camera |
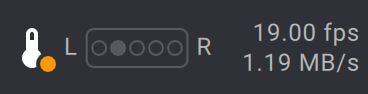 |
Thermal Left camera |
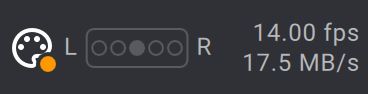 |
Visible light Central camera |
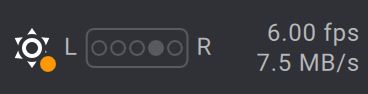 |
Near InfraRed (NIR) Right camera |
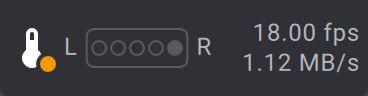 |
Thermal Right camera |
For each camera you have access to the mask edition, clearing and import/export functions (K SYSTEM Sense only).
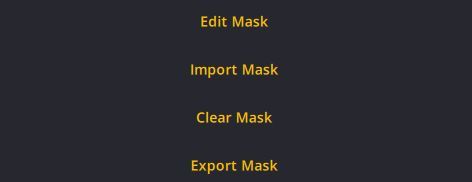
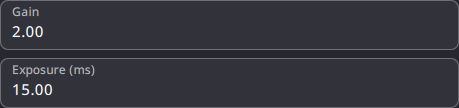
For the Visible and NIR cameras, you have access to the gain and exposure parameters. You can change these values depending on the environment you are in.
Auto Exposure
You can let the camera adjust its exposure automatically instead of setting it by hand. Simply check the Auto checkbox next to the Exposure field — the camera will continuously adapt to the current lighting conditions, and the exposure input is disabled while Auto is active. Uncheck it at any time to go back to manual control; your previous value will still be in the field, ready to use.
If you type 0 into the exposure field manually, Auto Exposure is turned on automatically.

For the NIR cameras, you have access to the Kapta's IR dimmer too, allowing you to set the correct amount of IR floodlight level.

The other cameras parameters are development tools and should stay untouched.