Connect a SpaceMouse to Kratos
This tutorial shows how to set up a 3DConnexion SpaceMouse to control a Target's position in Kratos.
Hardware requirements
A SpaceMouse needs a Kore, Kore S or NUK (which carry the SpaceMouse license), plugged into a USB 3.0 port. On other platforms, the module can be configured but cannot connect to a device.
Create a SpaceMouse module
- Open a Modules view.
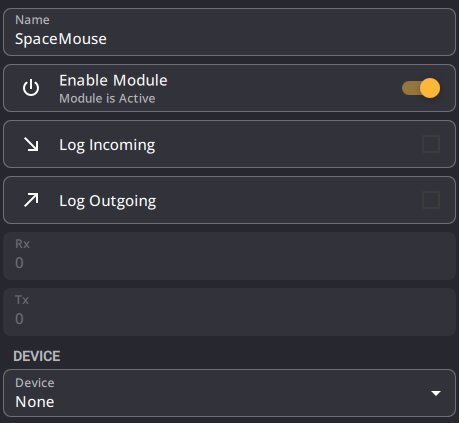
- Create a new module and choose SpaceMouse.
- Enable the module.

Select the device and Target
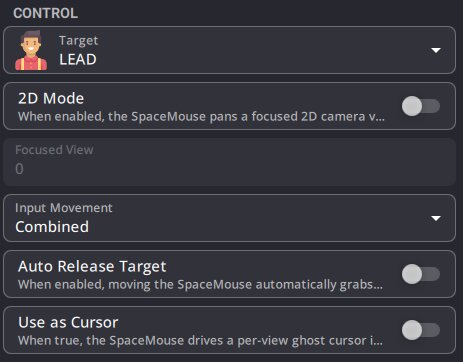
When you enable the module, Kratos picks the first free SpaceMouse and, if it is the only SpaceMouse module of the show, the first Target. Check or change them in the module's Device and Control sections:
- Pick your device in the Device dropdown (a newly plugged SpaceMouse appears in the list after a few seconds).
- Choose the Target to control.
- Set Auto Release Target:
- Off (default) : the Target must already be in manual mode.
- On : moving the SpaceMouse switches the Target to manual automatically.
Tune the response
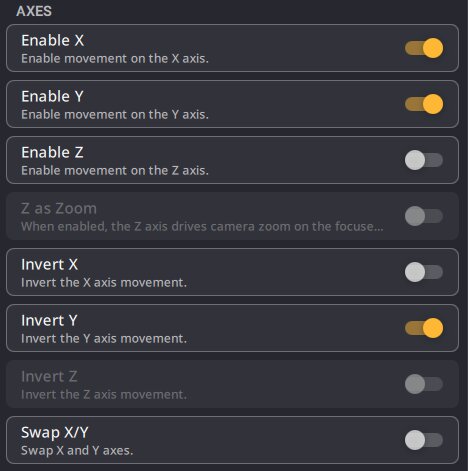
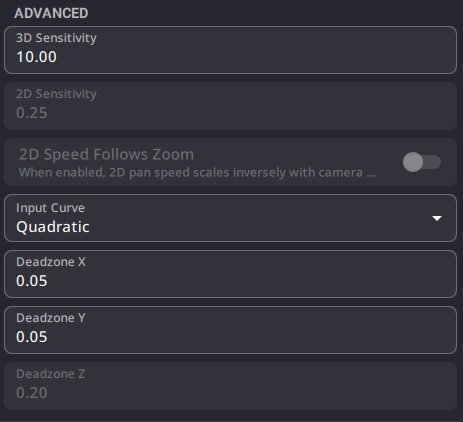
In the Axes and Advanced sections:
- Enable the axes you want (Enable X / Y / Z). Z is off by default for 2D use.
- Adjust 3D Sensitivity (m/s) and the per-axis Deadzone to avoid drift. Increase the deadzones on stages with vibration.
- Change the Input Curve if needed (Quadratic by default).
- Use Invert and Swap X/Y so the puck direction matches the view.
Move the Target
Put the Target in manual mode (or turn on Auto Release Target) and push the SpaceMouse: the Target moves on the selected axes. You can also:
- Assign Reset to Home, Release Target or Quick Assign to Button 1 Action / Button 2 Action (Buttons section).
- Constrain motion to an area with Bounding Area (Bounding section).
- Control camera zoom with the Z axis (Z as Zoom) by linking the module to a camera view (see Camera view link).
See the SpaceMouse module reference for every parameter.
To pan a 2D camera view instead of moving a 3D Target, use 2D Mode (see Use a SpaceMouse in 2D on a view).